


Use a USB-A / USB-C adapter, Lightning stick, or portable hub
IPads do not have the classic USB ports that you can find, for example on your computer, but only have an input lightning or, as for the iPad Pro models released in 2018, entry USB-C.If you have purchased an iPad compatible with the latter technology, know that you cannot connect it in a "direct" way to the common USB sticks usually used for PCs, desktop readers or other compatible devices, if not using an adapter. USB-C / USB-A specially designed for the purpose (you can buy them for a few euros, even on Amazon).
Alternatively, there are keys that, instead of the classic USB A connector, have a USB C connector and therefore can be connected directly to ports of this type.
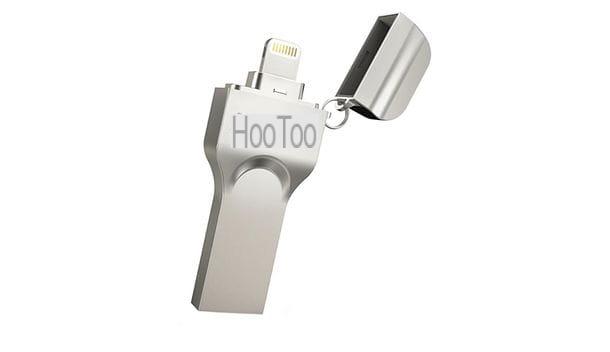
Do you have an iPad with only Lightning input? Also in this case, you can connect a storage drive in a "direct" way using one special key equipped with connector lightning (therefore created specifically for Apple devices), or a portable hub file, that is, a Wi-Fi storage device specific for the purpose. Below I point out some of the best devices of this type, available for purchase on Amazon.
Once you have the device that best suits your needs, you simply need to install its dedicated app on your iPad (which you can usually find on the App Store) and follow the instructions provided to transfer files from one place to another.
Unfortunately, I cannot give you detailed instructions on each possible case, since Apple does not have a "standard" procedure for moving files to such devices: in principle, what you need to do is start the file manager of thespecific app regarding the storage drive you have, choose whether to transfer files from iPad to key or vice versa, and follow the procedure shown on the screen to complete the operation.
Connect USB stick to iPad via computer
You're not going to spend money on a dedicated adapter or storage device, but you still want to plug in USB stick to iPad to move files from one place to another? Then this is the most suitable section for your case. In fact, below I am going to show you how to carry out this operation in an "indirect" way, using a computer, the appropriate cable Lightning / USB-C supplied with the iPad and software iTunes.
If you have a PC Windows and you have not yet installed iTunes on your computer, you must perform this operation to ensure that the tablet is correctly recognized by the operating system: to begin with, connected to the Apple website, click on the button Download to immediately start the copy of the installation program on your computer and, once this operation is finished, launch the file you just downloaded (eg. iTunes64setup.exe).
Once you have reached the initial setup screen, click on the button NEXT, remove the check mark from the box Use iTunes as the default player for audio files if you don't want to use the program as your default player, click the buttons later Install, Yes twice and end and, finally, presses the button Accept if you intend to share your library data with Apple, or on No thanks otherwise. For further instructions on how to install iTunes on Windows, I invite you to consult my specific guide on the subject.
Once the setup is complete, start the program by recalling it from the menu Home or from the Windows desktop, connect theiPad to the computer via the cable USB-A / Lightning (o USB-A / USB-C) supplied and wait for the button to appear Authorize on the tablet screen: after tapping the tablet, type the security code set on the iPad in the iTunes window and, if you do not intend to complete the first synchronization, close the program.
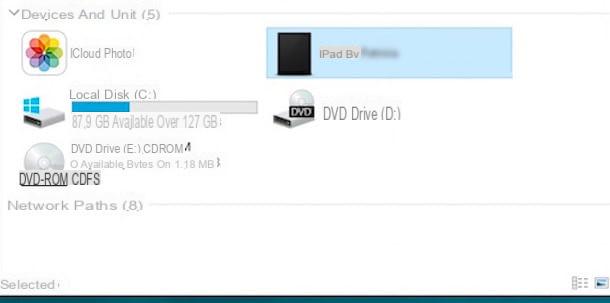
At this point, connect the USB pendriveavvia File Explorer, select the icon Computer / This PC and, from the left bar of the window that opens on the screen, double-click the icon of theiPad, then move to the folder that contains the files of your interest and copy them in the USB key, whose icon is located in the same bar. If you have difficulty completing the procedure described above, you can refer to the appropriate section of my guide on how to transfer files from tablet to USB stick for further support.
With this method, however, it is not possible to carry out the reverse step, as this technique does not allow the writing of files in the internal memory of the iPad: if you need to perform this operation for music, images or videos, I advise you to rely on it directly. to the iTunes program, as I explained to you in my guide on how to transfer files from PC to iPad.
As for macOS, you can follow the same procedure (without having to install iTunes, which is already “standard” in the system), but in reality I recommend that you refer to the AirDrop transfer system, which I will talk about in a few paragraphs.
Wireless transfer systems
How do you say? Did the above solution fail to satisfy you, as you don't have the Lightning cable or USB-A / USB-C cable to connect iPad to computer? Don't throw in the towel yet: thanks to some programs designed for wireless transfer, you can move the files of your interest from iPad to USB stick (and vice versa) in a very simple way. Below I am going to show you how to take advantage of two of the best known solutions of this type: AirDrop (available on Mac only) e Send Anywhere.
AirDrop
If you have a Mac, the simplest method of connecting USB stick to iPad using computer as via is AirDrop, a file transfer feature built into both MacOS in that iOS.
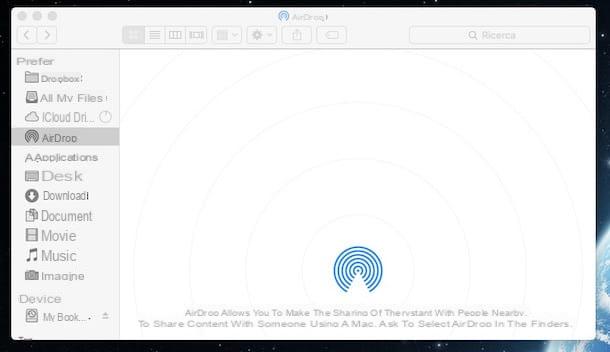
To use it, click on the menu vai placed in the menu bar on your Mac, select the item AirDrop from the proposed menu and, if necessary, activate Bluetooth and / or Wi-Fi using the appropriate button that appears on the screen. Finally, click on the setting Allow to find me a to enable file sharing even with those who are not present in theContacts app.
Once this is done, move to the iPad and call up the Control Center, then tap the icon AirDrop to activate the function and, in the screen that appears, select the item Contacts only, if the tablet and computer share the same Apple ID; otherwise, select the item All to make the two devices see each other.
At this point, the game is practically done: open the file you want to transfer on the iPad, tap the button Share (the square with the up arrow) and select the item related to Mac of your interest from the proposed menu. Once this is done, move to the latter and confirm your willingness to accept the file by pressing the appropriate button displayed on the screen. When the transfer is complete, the file is saved in the folder Download.
Finally, you simply have to connect the USB stick to the Mac and use the Finder to move the file from the folder Download to the key in question. If you need further clarification regarding this procedure, I invite you to take a look at my guide on how AirDrop works.
SendAnywhere
If AirDrop failed to meet your expectations, you can rely on third party software that can help you transfer files between iPad and USB stick, via computer. The program I recommend you try is called SendAnywhere and it is an application that, once installed on both your computer and tablet, allows you to send files from one device to another via a simple confirmation code.
SendAnywhere is compatible with the major desktop and mobile platforms (Windows, macOS, Linux, Android and iOS) and is also accessible via the Web, where however it allows you to upload files as large as 1 GB, instead of 20 GB as happens for applications.
Before going ahead and explaining in detail how to use it, however, I would like to tell you that its free version allows you to load up to a maximum of 10 GB of data in 48 hours. To bypass this limit and fully unlock the features of the service, you need to subscribe to a Plus subscription, with prices starting from $ 5,99 / month.
Having made this necessary premise, it's time to take action: to download SendAnywhere on your computer, connect to the program's website and click on the button Download placed under the heading Windows. Completed the download of the installation file (eg. SendAnywhereSetup.exe), launch it and click on the buttons Yup, Install e end to complete the setup. As for Mac, you can download the application directly from the Mac App Store and complete the setup as usual.
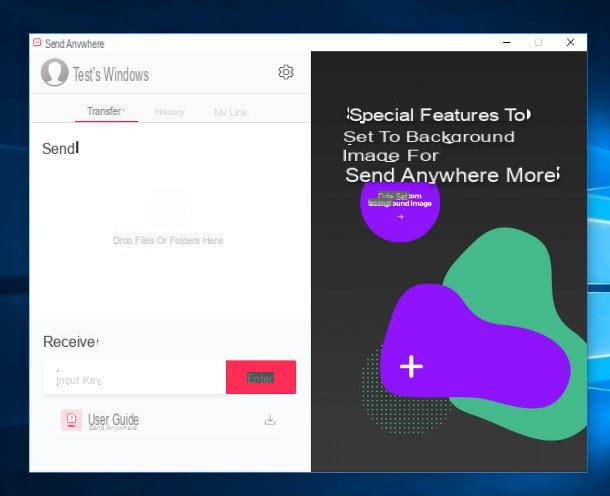
At this point, to move the files from USB stick to iPad, connect it to your computer, start SendAnywhere, click on the button Send (located at the top left) and, through Esplora File / Finder, open the USB key and drag the file (or files) you want to transfer into the program window. Once this is done, press the button Send and write down the code that appears on the screen.
To finalize everything, install SendAnywhere on the iPad via the App Store, launch the app, grant the necessary permissions for operation by tapping the button several times Allow, tap the button You will recive and enter the code you wrote down a moment ago: the previously selected files will be immediately transferred to the iPad.
Note: If you are using Windows, you may be asked if you want to allow Send Anywhere in the system firewall. Answer affirmatively to the dialog box that is offered to you.
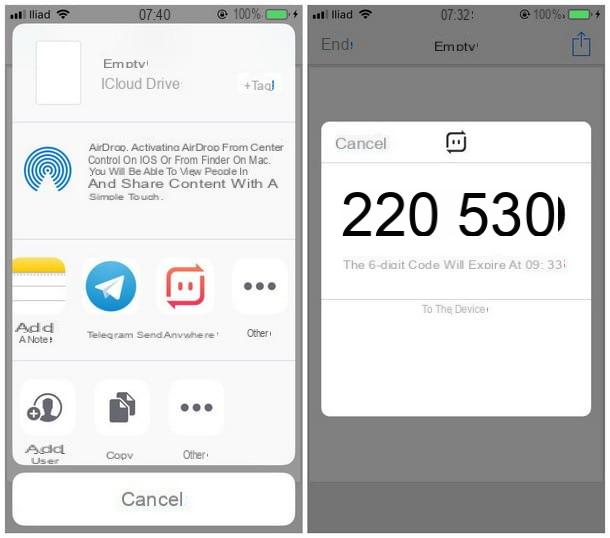
Do the reverse step, i.e. move files from iPad to USB stick, it's even simpler: open the file you want to move on the tablet, press the button sharing (the square with the up arrow), choose the option SendAnywhere among those available and, without closing the window, write down the code which is shown on the screen.
Please note: if SendAnywhere does not appear among the sharing options, tap the button Other placed next to the apps available for sharing, move to ON the lever corresponding to SendAnywhere and tap the button end
To initiate the transfer, go to your computer and, after starting SendAnywhere, enter the code noted previously in the text field under the heading Receive e pigia sui pulsnti Enter e Download.
At this point, wait for the transfer to complete (you can view the progress on the iPad screen) and that's it: the file is automatically saved in the folder Download Of computer. You just have to connect the USB pendrive to the latter and move the file to it using Esplora File / Finder. Easy, right?
How to connect USB stick to iPad


