


How to connect Mac to TV with HDMI cable
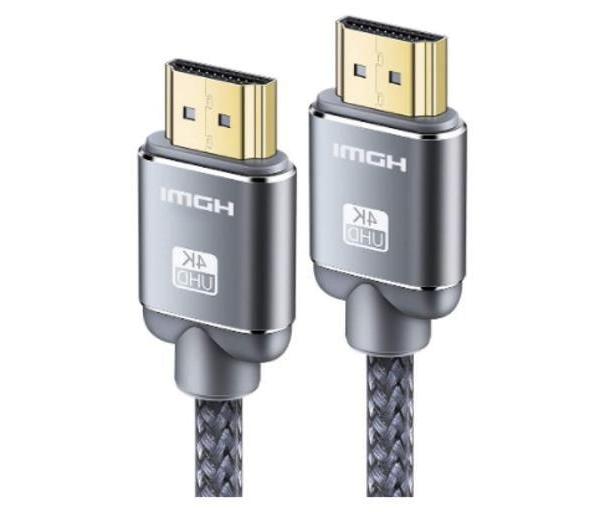
You have a television with connectivity HDMI and you don't have the faintest idea how to connect it to the Mac? You have nothing to fear: with the use of a good quality HDMI cable (like the ones I recommended in my buying guide) you can easily put the devices in communication with each other.
Specifically, if you have a Mac equipped with standard HDMI output (e.g. MacBook Pro Retina made between late 2013 and 2015), simply connect your computer and TV to each other using the appropriate cable.
Video transmission occurs at resolution Full HD or 4K / Ultra HD, depending on your TV: to be precise, the maximum supported resolutions are equal to 3840 x 2160 pixels at 30Hz e 4096 x 2160 pixels at 24Hz; however, the latter resolution is not supported by desktop duplication. The audio transmission takes place in 8 channels / 24 bits at 192 kHz.
If, on the other hand, you have a Mac not belonging to the aforementioned family, equipped only with USB-C ports (all MacBooks produced from 2016 onwards) or with Thunderbolt / Mini DisplayPort output (iMac, MacBook Air and old 13 "MacBook Pro ), you can achieve an equally appreciable result by using some adapters.
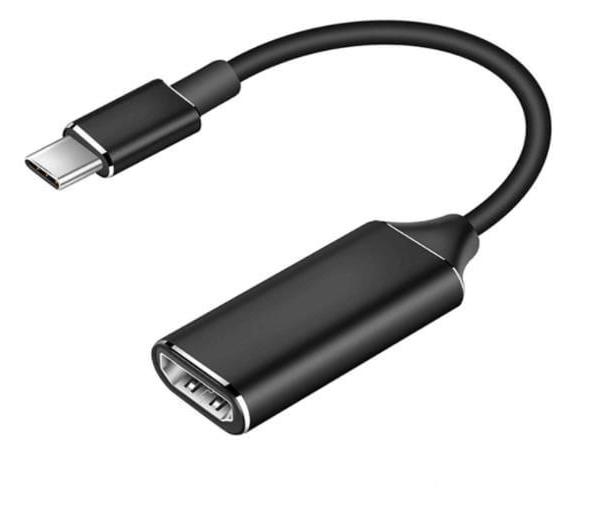
USB Type-C / HDMI adapter
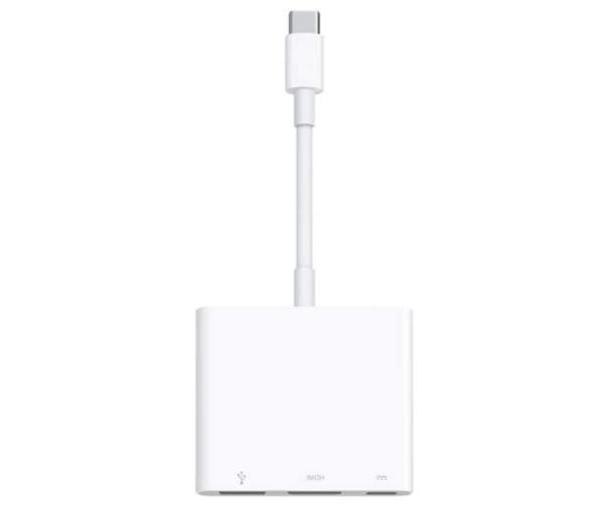
Almost all newer MacBooks and some Mac models have ports only USB Type-C and have no HDMI inputs of any kind. In this case, you can connect the two devices by purchasing a USB Type-C to HDMI adapter, or to a USB Type-C HUB which also includes an HDMI port.
Personally, I recommend that you only consider good quality adapters, even better if they are original and / or Apple-certified.
Depending on the TV and adapter you are using, the resolution of the content being broadcast may be Full HD (1080p @ 60Hz) or UltraHD / 4K (3840 x 2160 pixels at 30Hz). To achieve this last resolution, the HDMI cable must be version 1.4 or higher. The audio is transmitted in 8 channels / 24 bit and 192 kHz.
Thunderbolt / HDMI adapter
If you have an iMac or a MacBook Air with ports only Thunderbolt in Mini DisplayPort format, or a 13 "MacBook Pro (the one with the DVD burner) with only Mini DisplayPort output, you must purchase a Thunderbolt / Mini DisplayPort to HDMI adapter, as well as a well-made HDMI cable.
Clearly, to put the devices in communication, it is necessary to connect the adapter to the Mac and to the HDMI cable, and then connect the latter to the TV. Again, the supported resolution depends on the Mac in use, as well as the TV, up to a maximum of 3840 x 2160 pixels at 30Hz. The audio transmission takes place in 8 channels / 24 bits at 192 kHz.
Configure the transmission
After having physically put the two devices in communication via HDMI cable (with or without adapter), turn them both on and set the TV to appropriate HDMI source, until you see the Mac wallpaper.
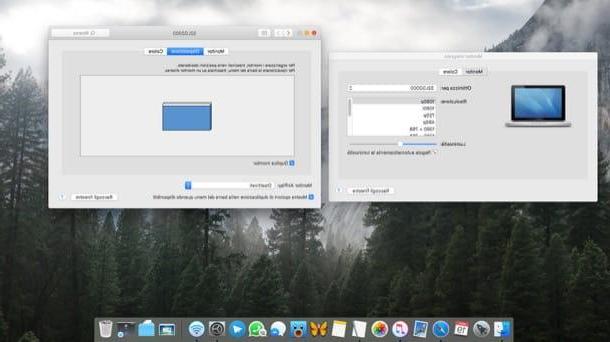
By default, in fact, the TV is used as a desk extension; to change this behavior and enable screen mirroring instead, open the System preferenceby clicking on thegear placed on the Dock, click on the tab Layout and apponi il segno di spunta accanto alla voce Dual monitor, which resides below.
Still from the same screen, if you have chosen to extend the desk, you can rearrange the screens in the order you prefer (presumably based on their physical position): to do this, you simply have to act on the virtual monitors that reside in the central pane, moving them to the right , or to the left.
To change the resolution or brightness of one of the screens, click on its preview, open the tab Monitor and use the menus and adjustment bars proposed, to apply the adjustments you prefer.
In the event that after setting up screen mirroring the sound continues to come out of the computer and not the TV, open the MacOS system preferences, click on the Sound icon, go to the tab Exit and select the TV name from the list of devices available for audio output; you can get the same result by clicking on thespeaker located in the Mac menu bar, if visible.
How to connect Mac to TV without cable
If you can't stand the idea of having “flying” cables around the house, you always can connect Mac to TV without cable, using some devices suitable for the purpose; for everything to work smoothly, it is essential that the Mac and the device chosen for the transmission of content are connected to the same Wi-Fi network.
How to connect Mac to TV with AirPlay
First, you can take advantage of the proprietary system AirPlay 2 by Apple, which allows you to quickly transmit the video stream from a device of the “bitten apple” family (Mac, iPhone or iPad) to a Smart TV compatible with the same technology.
At the time of writing this guide, AirPlay 2 compatible TVs are the newest ones manufactured by LG, Samsung, Sony e VICE: the list is constantly updated on the Apple website).
If your TV is not compatible with AirPlay technology (information easily verifiable from the sales package), you can fall back on using Apple TV, the multimedia box from Apple, equipped with App Store and remote control, which must be connected to a free HDMI port on the TV and allows you to play content from the Internet, or from other Apple devices. At the time of writing this guide, Apple TV is available in two different editions.
- Apple TV HD: as the name implies, this edition allows you to play content at the maximum resolution of 1080p and has 32 GB of internal memory.
- Apple TV 4K: this is the most advanced version of the Apple box, which allows you to play content in 4K resolution with Dolby Vision and HDR10. It is available in 32GB and 64GB memory sizes.
To transmit content from the Mac to the TV with AirPlay, if you have a device equipped with the AirPlay 2 system, connect it to the Internet and access the dedicated section to configure it; if, on the other hand, you have decided to fall back on Apple TV, connect the box to one of the free HDMI ports on the TV, turn it on (after connecting it to a power outlet) and follow the instructions that appear on the screen to configure it. For further information, please consult the in-depth tutorial I dedicated to Apple TV.
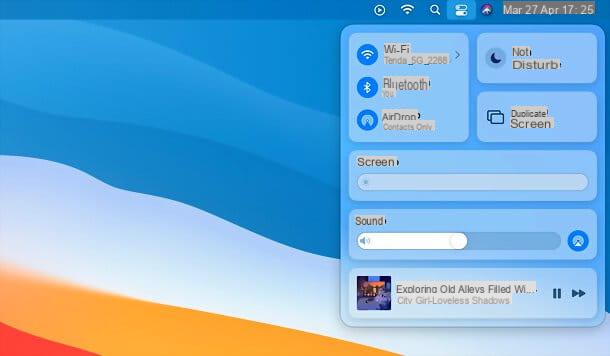
At the end of the configuration, make sure that the Mac is connected to the same wireless network in use for the Smart TV or for the Apple TV and, to transmit the entire screen, click on themultifunction icon present in the macOS menu bar (the two levers near the system clock), press the button Duplicate Screen and select the name of yours Apple TV, or of the Smart TV compatible from the menu that opens.
Afterwards, you can choose whether to take advantage of the TV as separate monitor in extended desktop mode, or if duplicate the integrated monitor; to adjust the arrangement of the screens, instead follow the same instructions that I gave you in the initial chapter of this guide.
If you don't see the AirPlay icon, you can easily enable it by going to the System preference (the icon ofgear which resides on the Dock), then in the section Monitor and finally, placing the check mark next to the item Show duplicate options in the menu bar when available.
If necessary, you can also choose to transmit a single content via AirPlay, using one of the applications compatible with the service (eg QuickTime Player or the Safari browser (for multimedia contents), just to name a couple): all you need to to do, in this case, is to reproduce the content of your interest, locate the AirPlay icon within the program in use, click on it and choose the name of the Smart TV or Apple TV from the list that appears. More info here.
How to connect Mac to TV with Chromecast
One of the cheapest devices that allow you to connect the Mac to the TV is definitely Google Chromecast: it is a sort of HDMI key that must be connected to the port of the same name on the TV.
This device, once configured and connected to the Internet, allows the TV to receive streaming content from any computer with the Google Chrome browser installed, including Mac, but also from smartphones and tablets.
At the time of writing this guide, two Chromecast models are commercially available: that of basis, which supports content up to Full HD resolution and costs € 39, and Chromecast with Google TV, which costs € 69,99, supports 4K HDR resolution with Dolby Vision and allows direct app installation and remote control.
Before going on, I believe it is right to underline that transmission via Chromecast allows you to send a specific Google Chrome card, or the entire Mac desktop, to the TV, the latter only in duplication (and not as an extended desk).
All clear? Very well, let me explain how to use Chromecast: after inserting the dongle into one of the free HDMI ports of the TV and having powered it via USB or electrical socket, you need to configure the device and connect it to a Wi-Fi network, or Ethernet, using the dedicated app Google Home (available for Android, iOS and iPadOS). For more information on Chromecast configuration, I refer you to reading the guide I dedicated to the topic.
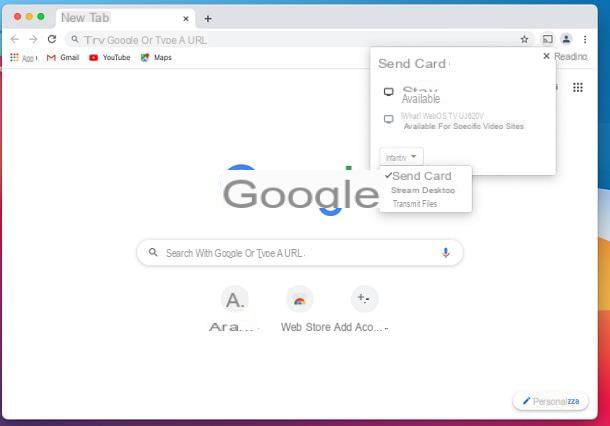
After installation, turn on the Mac, make sure the latter is connected to the same Wi-Fi network in use on the Chromecast and open the browser Google Chrome. At this point, click on the button (⋮) located at the top right, choose the item Broadcast from the menu that is proposed to you and wait for the device name chromecast appears in the panel displayed on the screen.
Once this is done, click on the menu References, choose whether to transmit only the current browser tab, or theentire desktop, then click the name on your Google device to start streaming content. That's all!
How to connect Mac to TV


