


Installing macOS from a USB key has several advantages: it is a solution that can be useful in the event of a failure, if you want to reinstall macOS without an internet connection or to install the OS on several machines in the chain.
To run this tutorial, you will need a USB key or an external hard drive with a capacity of at least 16GB. It is essential to save the files on another disk: the key will be formatted during the tutorial.
Format your USB drive
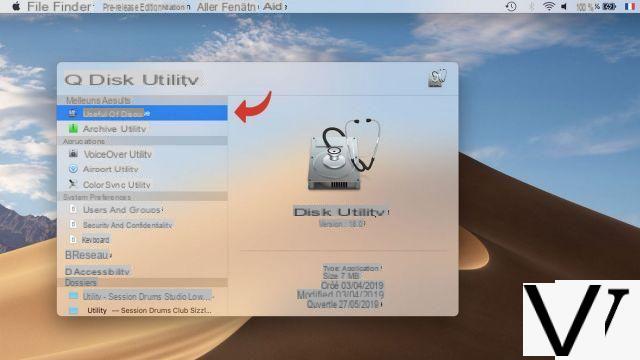
- Simultaneously press the keys Cmd + Space to open Spotlight.
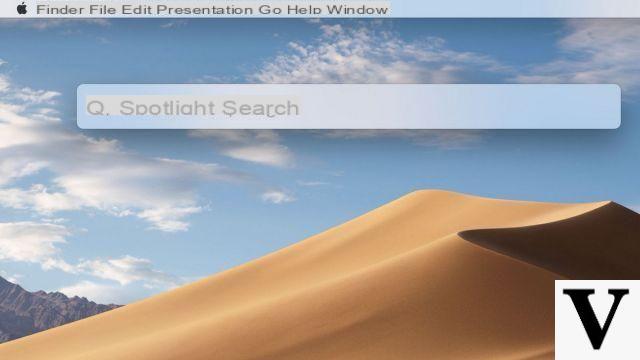
- Entrez Disk Utility and launch the utility.
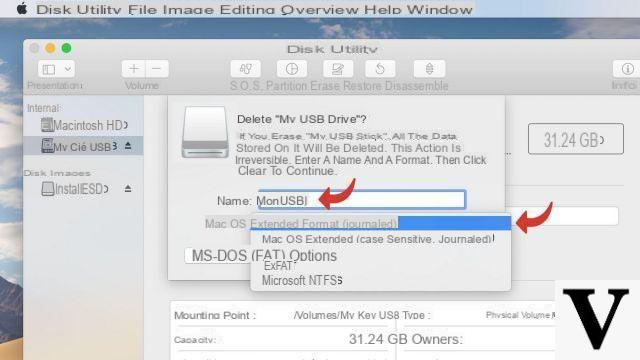
- Click on the volume to format in the left column and then click on the button Clear.
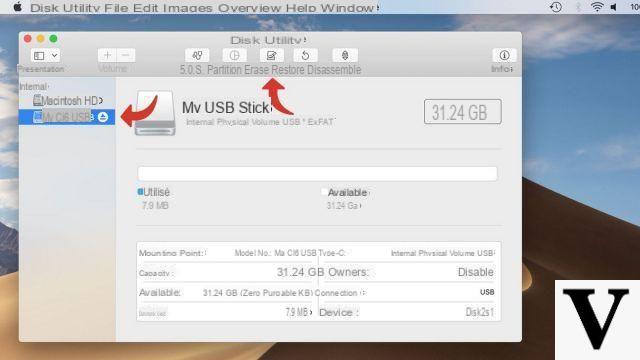
- In the parameter Size, select Mac OS Extended (Journaled) . Rename your USB stick with only one word, All Tied Up.
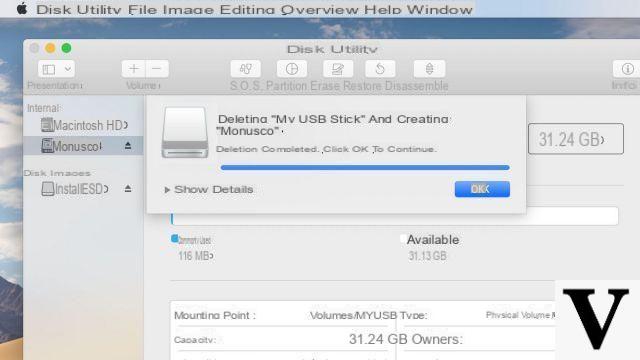
- Wait until Disk Utility finishes formatting the USB drive.
Download the macOS installer
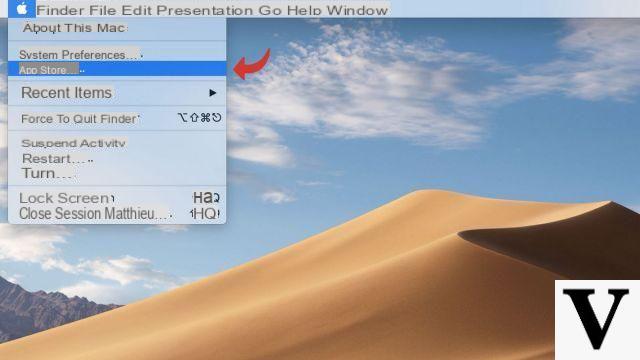
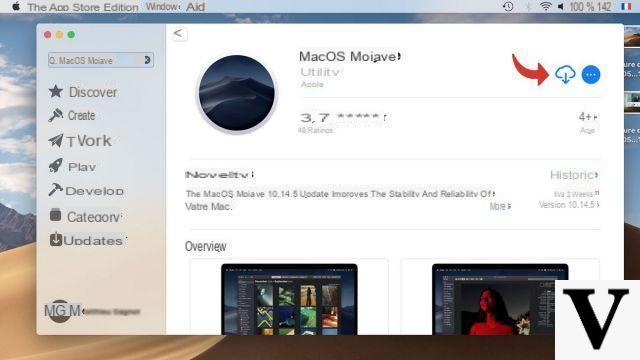
- Click on the button Apple at the top left of the screen then on App Store.
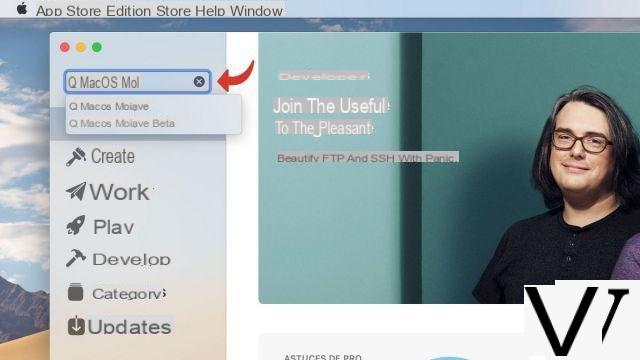
- In the search bar, enter the name of your current operating system (here, macOS Mojave).
- On the operating system page, click Obtain or on the cloud icon.
- Click on Download.
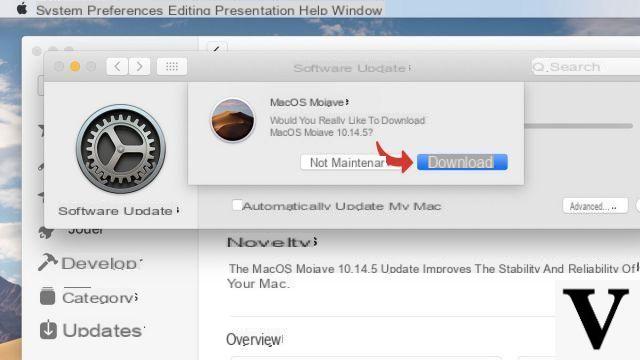
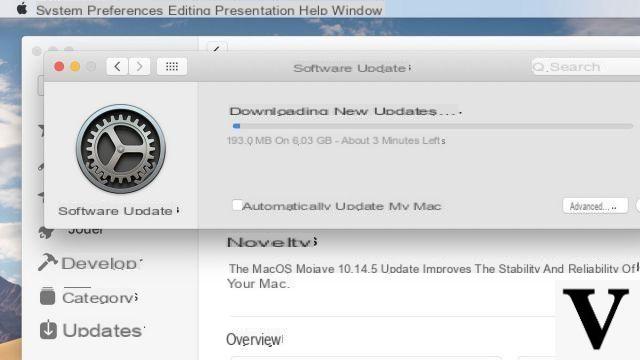
- Wait while the installer is downloaded.
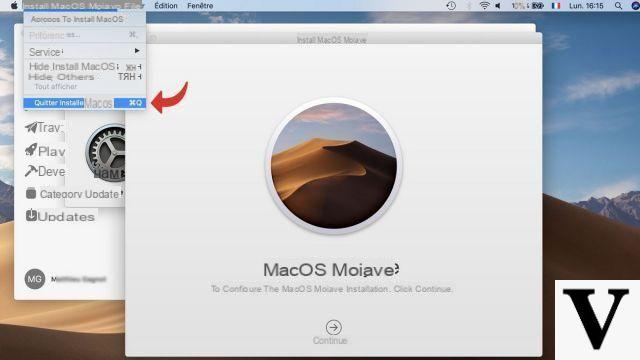
- Once the installer starts, leave it without installing.
Create a macOS installation USB drive
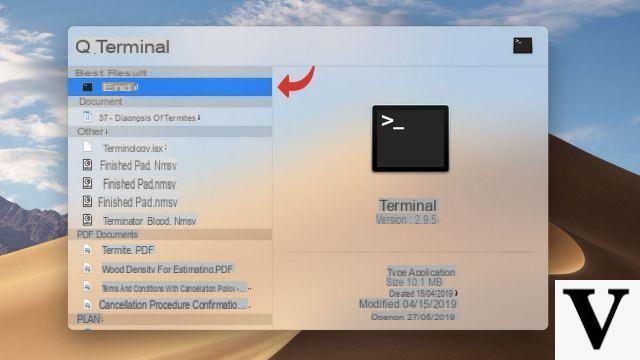
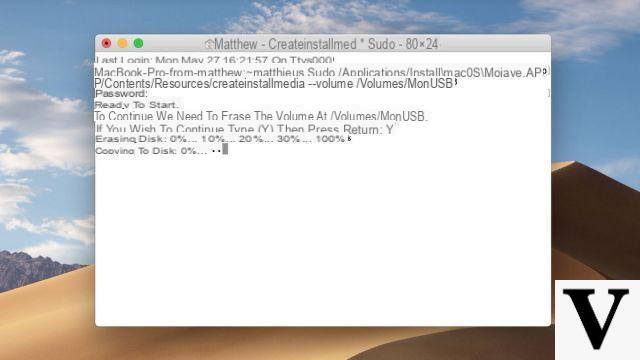
La Terminal window provides the fastest way to easily create a macOS installation USB drive.- Simultaneously press the keys Cmd + Space to open Spotlight.

- Entrez Port and run it Port.
- You should see this window open.

- Copy the following command line, depending on your situation, and then click the Enter key. Note: in the command line, replace "MyUSB" by the name given to your USB key.
For a macOS Mojave installer:
sudo /Applications/Install macOS Mojave.app/Contents/Resources/createinstallmedia --volume /Volumes/MonUSB
For a macOS Mojave installer from macOS Sierra or earlier:
sudo /Applications/Install macOS Mojave.app/Contents/Resources/createinstallmedia --volume /Volumes/MonUSB --applicationpath /Applications/Install macOS Mojave.app
For a macOS High Sierra installer:
sudo /Applications/Install macOS High Sierra.app/Contents/Resources/createinstallmedia --volume /Volumes/MonUSB
For a macOS High Sierra installer from macOS Sierra or earlier:
sudo /Applications/Install macOS High Sierra.app/Contents/Resources/createinstallmedia --volume /Volumes/MonUSB --applicationpath /Applications/Install macOS High Sierra.app
For a macOS Sierra installer:
sudo /Applications/Install macOS Sierra.app/Contents/Resources/createinstallmedia --volume /Volumes/MonUSB --applicationpath /Applications/Install macOS Sierra.app
For a macOS El Capitan installer:
sudo /Applications/Install OS X El Capitan.app/Contents/Resources/createinstallmedia --volume /Volumes/MonUSB --applicationpath /Applications/Install OS X El Capitan.app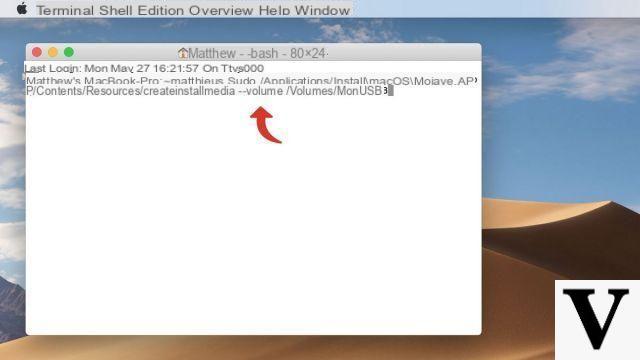
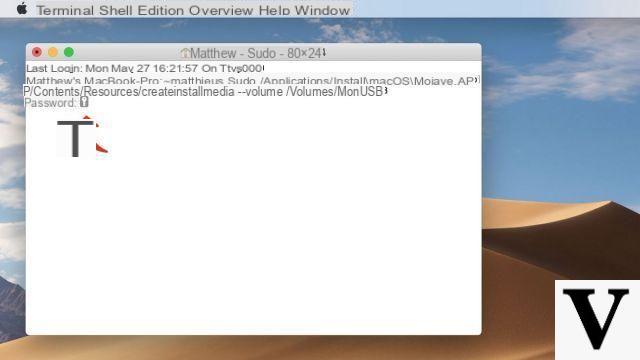
- Enter your mot de passe administrator.
- Press the key Y then Starter.
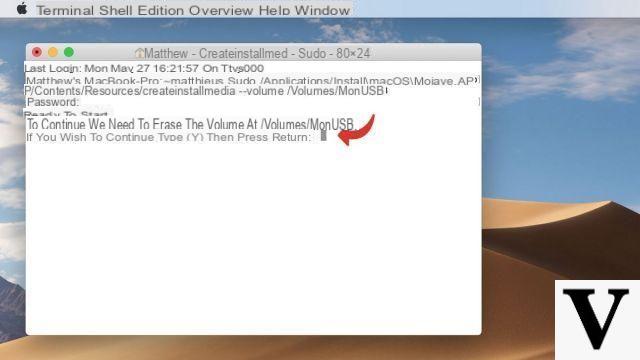
- Wait while the installation files are copied to the USB drive. It may take several minutes.
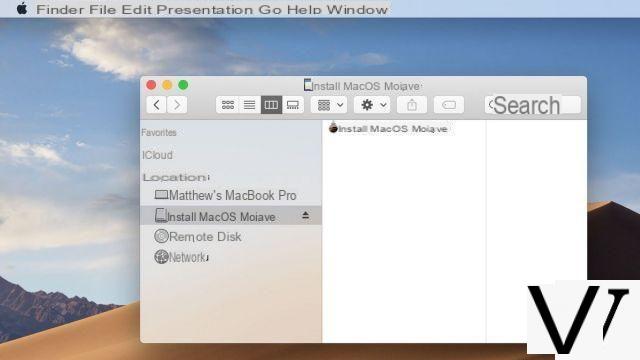
- Once the installation files have been copied, you have a bootable usb stick ready to install macOS.
Install macOS from the USB drive
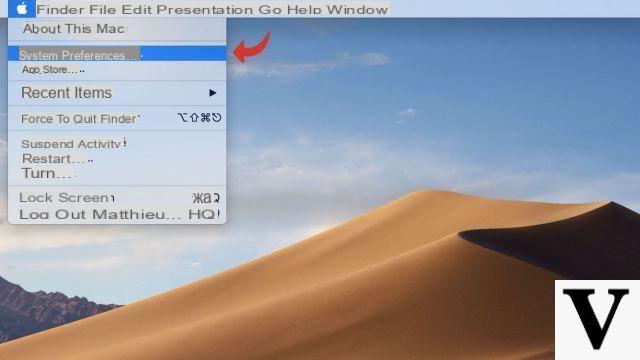
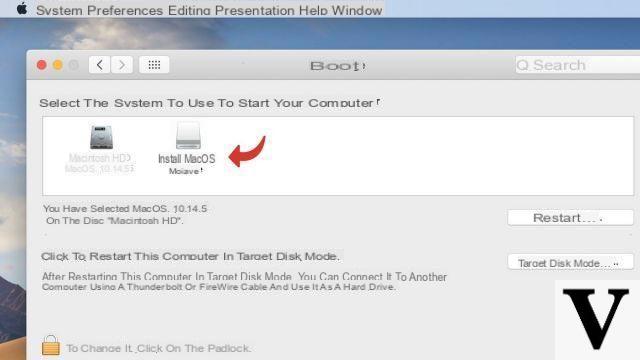
- Click on the menu Apple at the top left of the screen, then on System Preferences.
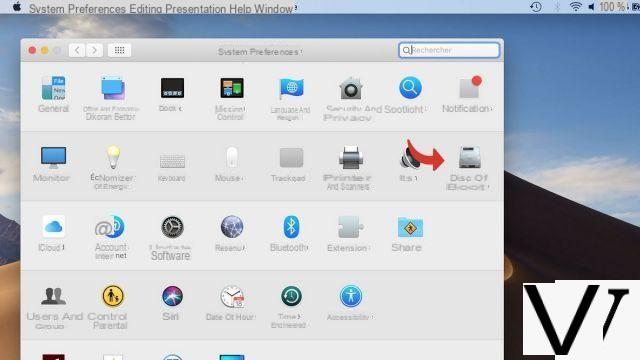
- Click on the menu Boot disks.
- Select the disk corresponding to your macOS installation USB driveAnd click To restart.
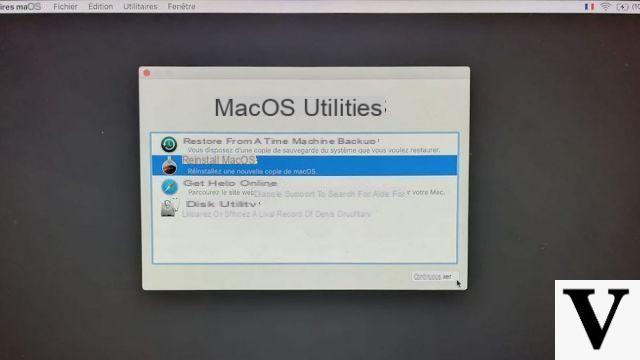
- After restarting, the computer offers you the following menu. Click on Reinstall macOS and follow the steps of the installation process.
Caution : It is strongly recommended that you back up your personal files before reinstalling macOS. You can do this by using Time Machine to create a save point.
Find other tutorials on Mac:
- How to activate dark mode on Mac?
- How do I create a Mac OS restore point?
- How to install Windows on a Mac with Boot Camp?
- How to reset Mac OS?
- How to update your Mac?


