


Word offers the possibility of inserting all kinds of graphic elements to enhance your text files. The software allows in particular the insertion of images in the following formats: JPEG, PNG, BMP, FPX, GIF, PDF, PSD, TGA, TIFF, etc ...
This tutorial shows you two ways to easily add images to your documents in Word.
How to insert picture in Word with insert function
- In Word, make sure the ribbon is visible. If not, press the keys at the same time. Ctrl + F1 (or Alt + Cmd + R on macOS) to display it.
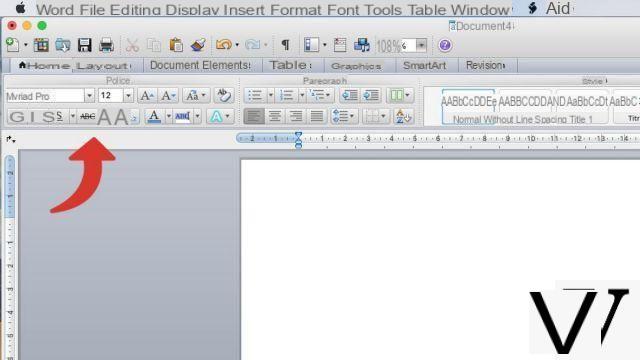
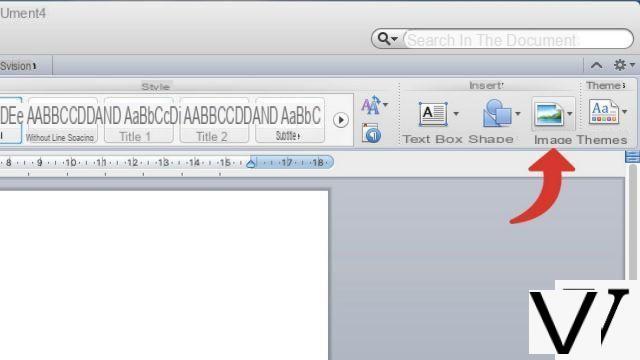
- On the Home tab> Insert, click Image. On newer versions of Word, on the Insert tab, click Picture.
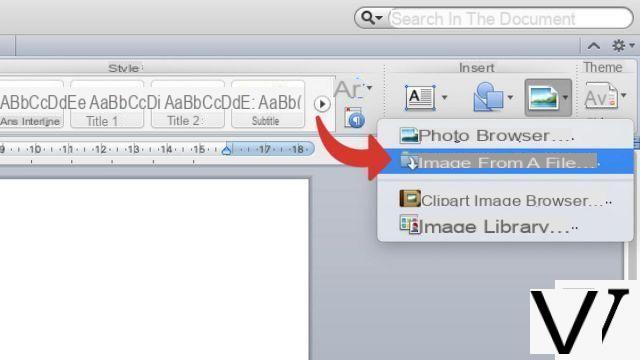
- Click on Image from file.
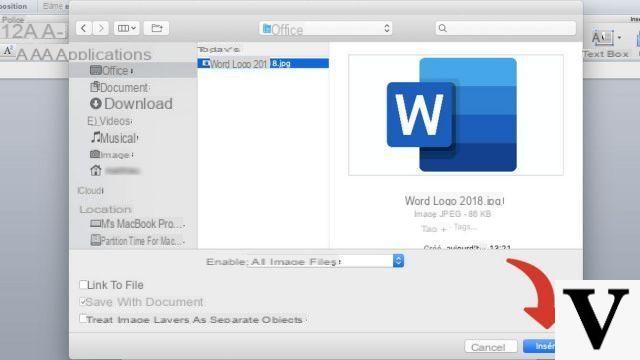
- Select the image to insert then click on Insert.
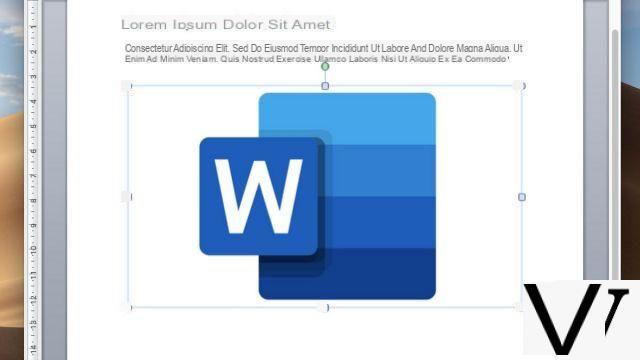
- The image now appears in your Word document.
How to insert picture in Word by drag & drop
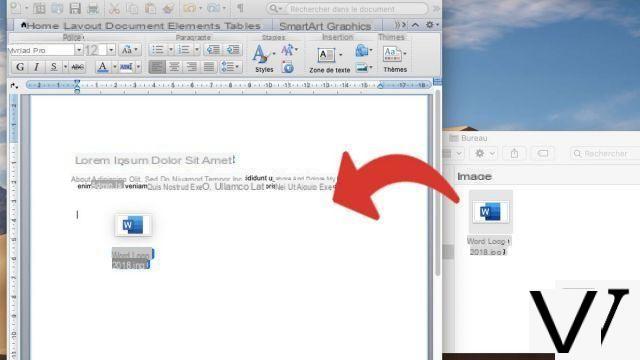
- Open the Word document in which you want to insert the image. Also open the Finder folder where is the latter.

- Make a drag & drop from the image to the Word document in the exact location where you want to place it.
Once inserted into Word, your image can be easily moved (by drag & drop) or resized (by clicking on it then by moving the resizing limits).
To download :
Microsoft Word for Windows 10 | Microsoft Word for MacOS
Find other tutorials on Word:
- How to draw a geometric shape in Word?
- How to insert a geometric shape in Word?
- How to add watermark in Word document?
- How to add background to Word document?
- How to quickly insert screenshot in Word?


