


Are you looking for a way to burn a project created with Windows Movie Maker (MSWMM format) on a DVD disc, so you can play it on your DVD player and watch it on TV? A Windows Movie Maker project file is not a video file. Almost all DVD burning tools cannot directly import a Windows Movie Maker project file to burn it to DVD. You must therefore first save that project as a video file, and then use your favorite DVD burner to burn it to DVD.
In this article we see the detailed steps. We recommend using the BURNOA or DVD CREATOR program.
BURNOVA is an innovative software designed to burn both DVD and Bluray discs. It supports hundreds of video formats, including files created with Windows Media Player and is characterized by fast burning speed. You can read a detailed guide at the following link:
How to Burn a DVD on Windows with Burnova
DVD Creator is another burning program for videos created with Windows Movie Maker. Some people like to burn their DVDs with Windows DVD Maker. However, Microsoft has ceased support for Windows DVD Maker starting with Windows 8. Wondersoft DVD Creator instead all Windows versions and almost all video formats. DVDs created with DVD Creator are of high quality and very professional.
Guide: How to Burn Windows Movie Maker to DVD
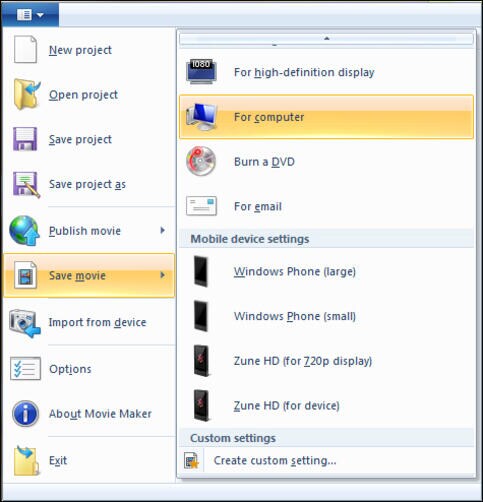
1. Export the Movie Maker project as a video file
Start Windows Movie Maker, go to "File"> "Open Project" to import the Windows Movie Maker project file. Then, drag one of the files down to the Storyboard, and at the end, click on “Save to my computer” to export it. You will find the file on your PC, saved in WMV format.
2. Import the WMV file into DVD Creator
Run DVD Creator and press the "Add images or videos”In its interface to load previously saved WMV files. If you need to add titles, you can choose the “Add Title” option. And if you want to change the video sequence, you can choose the options "↑" or "↓"
3. Create DVD menu
Go to the section "Menu”To choose one of the DVD menu templates, and then you can customize it to your liking. For example, you can customize the thumbnail, text, buttons and add background music, image, etc ...
4. Burn Windows Movie Maker to DVD
Now insert a blank DVD disc (DVD5 and DVD9 are both supported). After that, go to the "Burn" section and check the "Burn disc" box. Finally hit "Burn" to start burning Windows Movie Maker video to DVD.
NB: If your Windows Movie Maker project files are larger than your DVD storage space, that application will automatically compress the file to fit your DVD disc.
good program for movies downloaded from NEW PHONES.
I am looking for this mastered because I had WINDOWS7 MOVIE MARK on my PC


