


Summary
- > Capture whole screen
- > Capture part of the screen
- > Capture a window or a menu
- > Use the Capture app
Taking a screenshot on a Mac is very easy, especially when you know all the techniques! Find out which ones in the rest of our tutorial.
Capture the whole screen
There are several ways to take a screenshot on macOS, the first being to record your entire screen.
To do this, simultaneously press Cmd + May, then press the number 3.
Your screen shot will be saved to your Desktop in .png format. You can find it under the name of Screenshot-(year)-(month)-(day)-at-(time).png.
It's as simple as that !
Note that if you are using two screens, then two images will be saved separately.
Capture part of the screen
Now, if you want to be more precise, you can capture a well-defined part of your screen.
To do this, press and hold Cmd + May, then press the 4. Using your mouse pointer, select the area of the screen you want to record.
You can move the selection you have made using the space bar. To abandon the selection, release it.
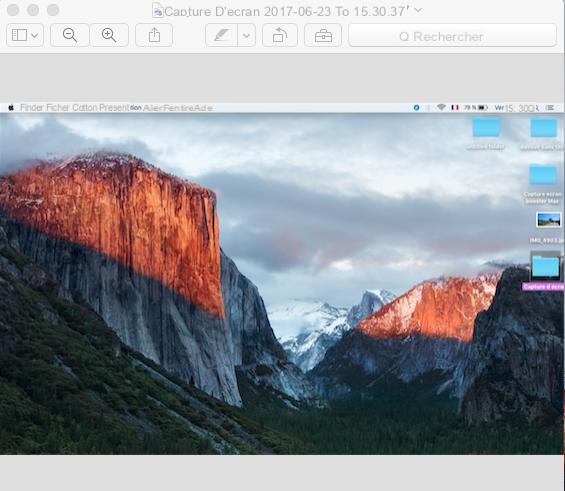
As before, your capture will be saved to your Desktop in .png format.
Measure the size of a screenshot
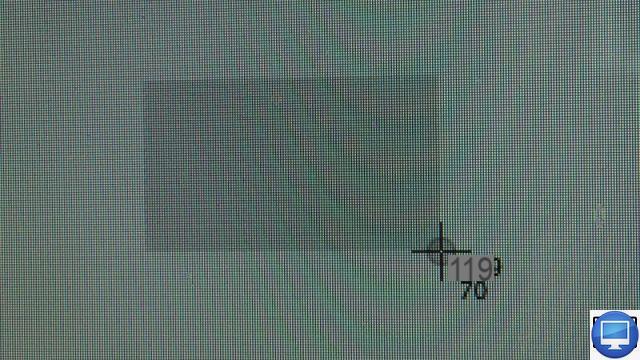
As you can see in the photo below, next to the pointer there are two numbers that represent the pixels.
When you press the keys May + Cmd + 4 (before making a selection), these numbers indicate the coordinates of your mouse on the screen.
After you click and make a selection, they show the number of horizontal and vertical pixels in your selection.
Capture a window or menu
To capture a window of your Mac or a menu, there are 4 steps to follow:
- Open your window.
- Hold down the keys Cmd + May + 4 + space bar.
- When the camera-shaped cursor appears, click on the window.
To capture a window (without its shadow):
- Hold down the keys Order + May, then press 4.
- When the cursor appears, press the key Other Then space bar.
- Position the cursor above the window highlighted in blue and make a left click.
You will again find the photo of your window on your Desktop, still in .png format.
Finally, to take a picture of a drop-down menu, apply the same techniques as for capturing a window.
- Hold down the keys Cmd + May, then press 4.
- When the cursor appears, press the spacebar.
- Position the cursor above the drop-down menu highlighted in blue and left-click.
This technique allows you to enter other parts of your screen such as the application bar or your folders.
Use the Capture app
If you need more features, then use Snipping Tool.
- To open the app, tap May + Order + 5.
- Select the option of your choice from: Capture whole screen, Capture window, Capture part of window, Record whole screen et Record part of the screen.
- Click on Capture ou Save.
Print a screenshot
To print a screenshot, simply open it by double-clicking on it, then press Cmd + P.
Change the location of your screenshots
By default, screenshots are saved to your Desktop. If you want to automatically save them to a folder, then you'll need to use Terminal.
- See you in Utilities → Port.
- type defaults write com.apple.screencapture location ~/Desktop/Captures then press Starter.
- type killall SystemUIServer.
- Press Starter.
- Close the order.
Copy/paste your screenshots
If you don't want to save a screenshot as such, but want to "paste" it into an application (Paint, Photoshop, etc.), proceed as follows:
- Hold down Cmd + May, then press 4.
- Hold down Ctrl while making your screen selection.
Your screenshot is ready to be pasted into an application!
in case of bug
Your screenshot is empty? It's likely that the app, software, or site you're using has blocked this feature. This is, for example, the case of Apple's DVD player. You can try to circumvent this limitation by downloading an application specifically dedicated to screenshots, but there is no guarantee of results.


