


When you want to keep track of what is displayed on the Mac screen, nothing better than a screenshot. To use this function, integrated into the system for a long time, several methods coexist.
Whether it's asking someone for a little help in the event of a problem with a software, keeping a memory of a web page that might disappear or even showing manipulations to be carried out - as we do. let's do in the practical sheets on CommentÇaMarche -, the screenshot is an efficient and fast tool. It allows you to take an instant "snapshot" of all or part of what is displayed on the screen and turn it into an image file. On Mac, this file is in PNG format - with the extension .png, therefore - and automatically called Screenshot followed by the date and time - to the nearest second! -, which any software - including web browsers - can open. By default, it is saved immediately to the desktop of macOS.
To take a screenshot on Mac, there are several methods. The easiest and fastest way is to use keyboard shortcuts. But you can also use the Screenshot utility that comes with macOS. It gives access to additional options such as the choice of the recording folder of the images and above all, a self-timer. As on a camera, a countdown will allow you to present on the screen what you want (for example a drop-down menu that disappears as soon as a key on the keyboard is pressed) before immortalizing it. Convenient ! Best of all, the tool also allows video recording of what is happening on all or part of the screen. A very useful function for presenting operations to be carried out to a loved one in trouble with his Mac.
How do I take screenshots with macOS keyboard shortcuts?
Three, four, and sometimes five keys pressed simultaneously are required to take screenshots on macOS. Main advantage: these shortcuts remain assigned to the system regardless of the software launched. Note that the numeric keys used here are those located on the top row of the keyboard - above the AZERTY keys, therefore - and not those on the numeric keypad placed to the right of the keyboard, which is absent from portable Macs.
Take a full screen capture
- If you want to get an image of the entire screen, including the menu bar and Dock, press the keys simultaneously. Cmd + May + 3. The capture is performed immediately and saved by default on the Desktop in PNG format and named Screen Capture with the date and time.
Capture a specific area of the screen
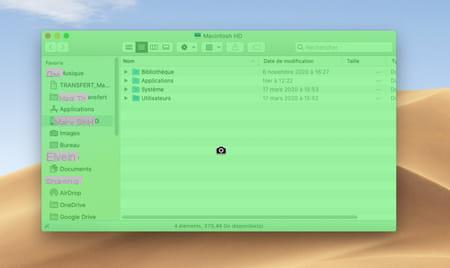
- To select only a part of the screen, the shortcut varies and requires you to also manipulate the mouse. Press the keys Cmd + May + 4. The mouse pointer then takes on the appearance of a target. Left click and drag the mouse to set the frame you want to capture. The capture is only performed when you let go of the mouse button and saved by default on the Desktop in PNG format and named Screen Capture with date and time.

Take a screenshot of a window
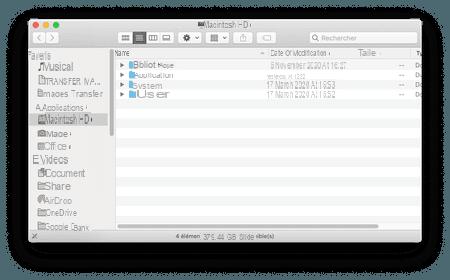
- To keep only one software or Finder window open on the screen, press the keys. Cmd + May + 4. Then move the mouse pointer over the window you want to "photograph". It is then tinted with the contrast color of macOS to indicate that it is indeed the one you are going to capture. Press the Space bar of the keyboard. The capture is then immediately saved and saved by default on the Desktop in PNG format and named Screen Capture with the date and time.
- In this case, macOS retains the small aesthetic effect brought to the Finder. If you open the image in image editing software, you may see a drop shadow below the window.
Take a screenshot and store it in the clipboard
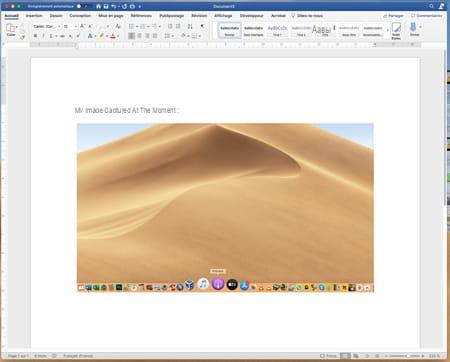
- If you want to copy your screenshot directly to a document, you can skip the step of saving it to the Desktop. The image will then take place in the macOS clipboard. This requires using an additional key in the manipulation. Press the keys Cmd + May + Ctrl + 3 to capture the whole screen or Cmd + May + Ctrl + 4 to select only part of it. You can also press the keys Cmd + May + Ctrl + 4 then operate the bars space on the keyboard to enter only one window.
- The image is then copied to the macOS clipboard. To integrate it into your document (a word processor, a presentation tool or an image editing software for example), you just need to use the keyboard shortcut Cmd + V. Avoid copying anything else to the clipboard in the meantime at the risk of erasing the capture, because this temporary memory has only one place ...
How do I take screenshots with the macOS utility?
Rather unknown, the screen capture tool integrated into macOS is nevertheless very useful. It offers additional options to take more complex "shots" and even video captures to "film" what is happening on the screen.
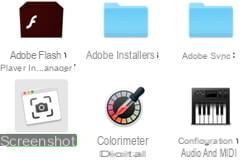
- From Finder, pull down the menu Go and choose Utilities.
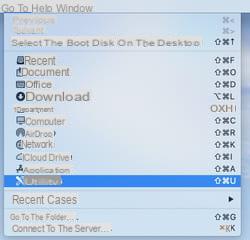
- In the folder that opens, double-click on the tool Screenshot.
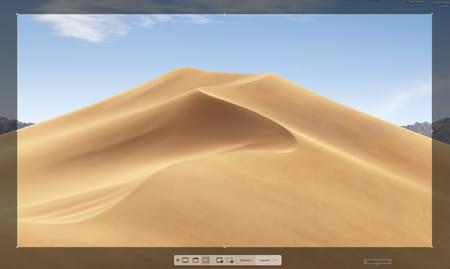
- A selection frame is immediately displayed on the screen. At its base is a small control panel.
Take screenshots in image format
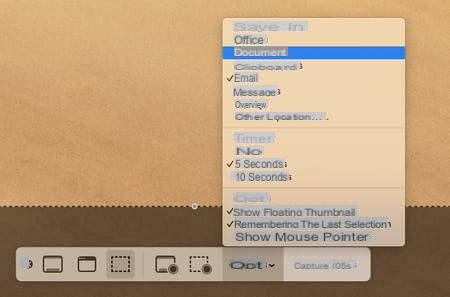
- Click on the menu Options. In the section Save in ... you can choose the location where the screenshot file will be saved (remember that, by default, it takes place on the Desktop).
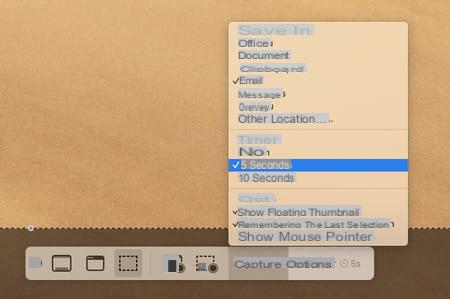
- In the section Timer, you can choose here to start a self-timer 5 ou 10 seconds.
- Finally, in the section Options, you can choose to keep the mouse pointer in the image (by default, it never appears on the capture).
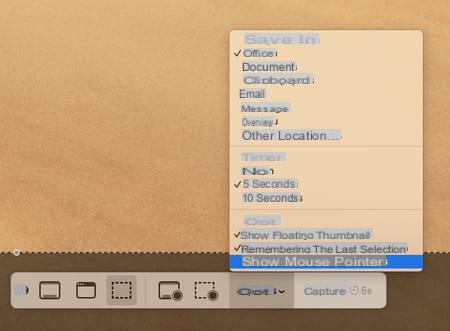
- When everything is ready, choose one of the three capture options by clicking on the icons to the left of the control panel: capture the whole screen, la window selected ou the selection for a portion of the screen only.

- All you have to do is click on the button Capture on the far right of the control panel to start the capture.
How to take video screenshots on Mac?
With the macOS screenshot utility, you can also "film" your screen. A practical function to demonstrate a manipulation to help a loved one.
- Open the macOS Screenshot tool discussed above. This time, instead of selecting one of the three options on the left of the control panel to get a still image, choose Save full screen ou Save the selected part.

- Note that you can apply the same save and timer options as for a screenshot in image format (see above). In addition, there is the possibility of also recording your voice using the built-in microphone Mac or your headset.
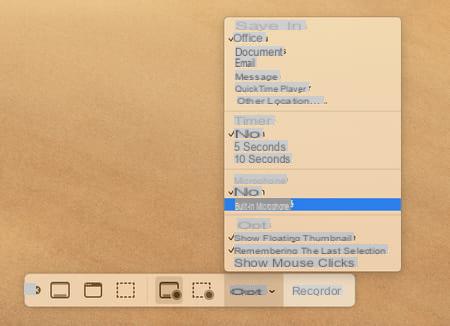
- Click on the button Save on the far right of the control panel to start recording.

- Perform the manipulations you want to show. To stop recording, click on the button Stop appeared in the menu bar at the top right of Finder.

- You will then obtain a video file in MOV format (with the extension .mov). Be careful, video capture files can quickly become large. In our example, an entire screen with a resolution of 2560 x 1440 pixels filmed for 20 seconds produces a 20 MB file.


