- Create a repair disc
- Access the tool allowing the creation of the repair disc
- Burn repair disc
- Use the system recovery disc
- Use the Windows installation disc
- On video
- Other links
- To see also
Create a repair disc
Windows 7 includes a tool that allows you to create a repair disc, just as the Windows Vista installation DVD allowed. An improvement therefore, since you can therefore have this one without having a boxed version, delivered with its installation DVD.
Necessary material :
- A CD to burn the system repair tool
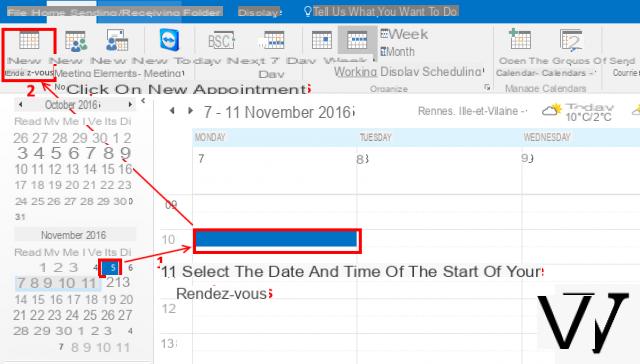
Access the tool allowing the creation of the repair disc
Done :
Start> Control Panel> Backup and Restore> Create System Repair Disc 
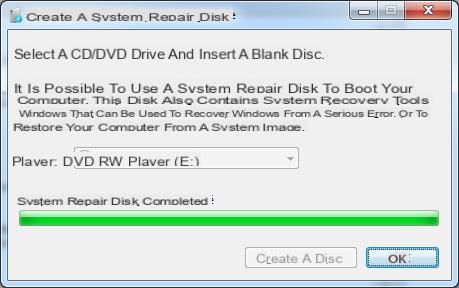
Burn repair disc
Insert your CD into the drive. 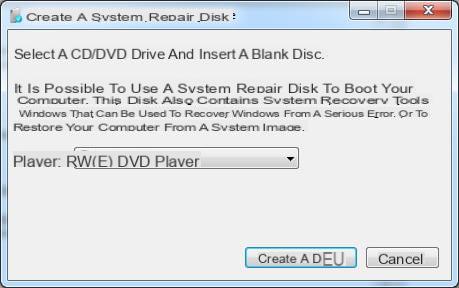
Select your burner if you have more than one and click on Create disc. 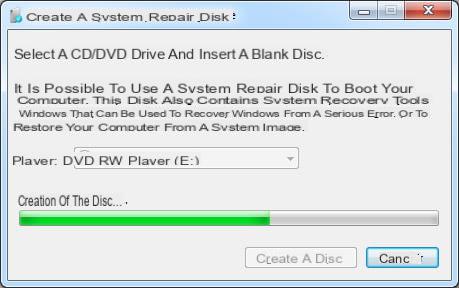
There it's finished ! 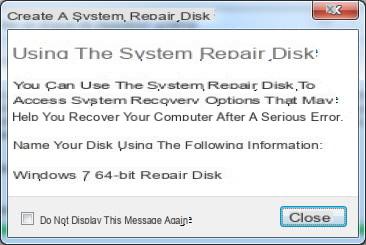
Use the system recovery disc
- Insert the System Repair Disc into your computer's drive.
- Restart your computer using the computer's power button.
- If prompted, press any key to start the computer from the system repair disc.
- If your computer is not configured to boot from a CD, DVD or USB key ..., consult the documentation supplied with the computer. You may need to change your computer's BIOS / UEFI settings.
- To boot from the recovery disk, you will need:
- Either go to the boot menu (select boot device), by pressing the key indicated on the screen when you start your computer. Example on a Toshiba computer
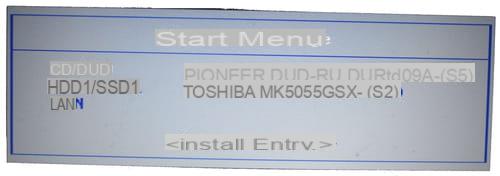
-
- Either configure the bios by going to the boot menu. Example of Bios in picture:
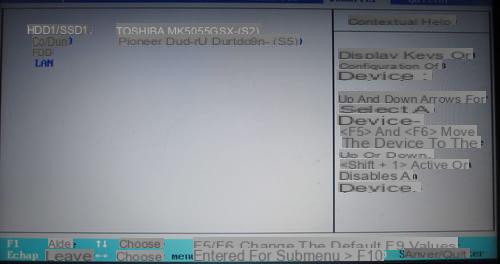
Note: Remember to confirm the startup changes: 
- Select your system and press enter to go to the next step.
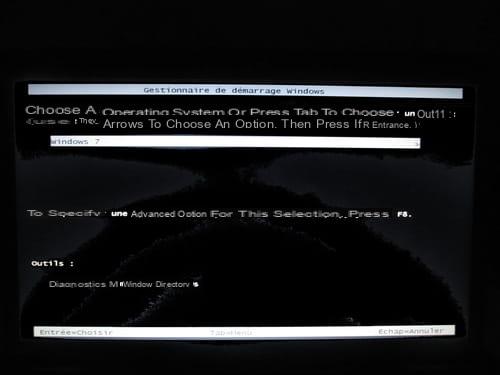
Note: Pressing the Tab key during this step will launch the Windows Memory Diagnostic Tool. 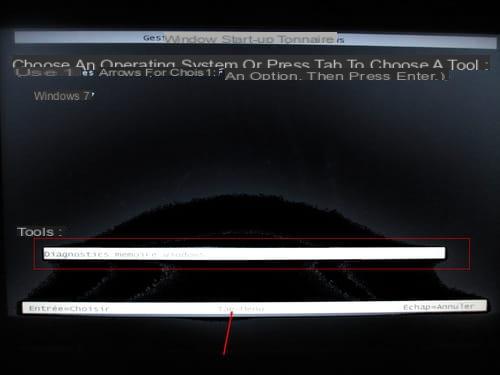
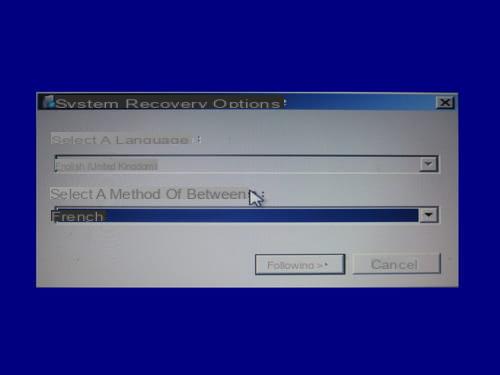
- Wait for the loading time then select your language settingsAnd click Following.

- At this stage two choices are offered,
- The first allows you to launch tools to repair your system as shown in the next step
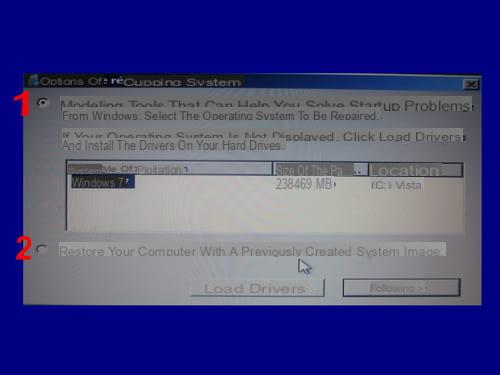
-
- The second choice is to directly use a disk image created with Windows (but by checking the first option you will also have the choice of using a disk image!)
- Then click Following.
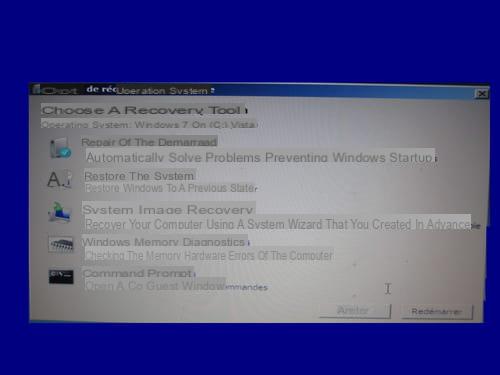
- If you checked the first option during the previous choice you will arrive at this menu:
- Startup Repair
- Restore the system
- System Image Recovery
- Windows memory diagnostics
- Command prompt
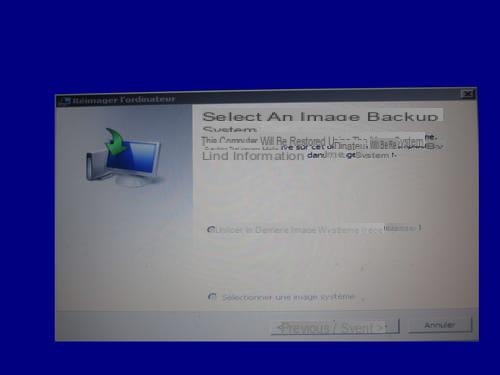
- If you selected to recover the system image in the previous step (or even from the menu of the previous image), you will come to this screen:
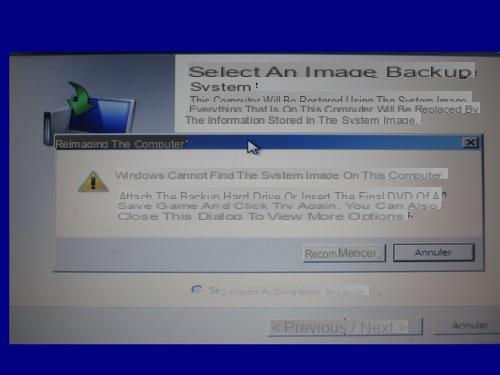
If the system image is on an external media not connected you will have the following message:
Use the Windows installation disc
- If you cannot create a repair disc and you have the Windows 7 installation CD, you can start with the repair option by booting from the original Windows CD.
- So we can start with the repair options without having created a repair disc (especially since in some cases the creation of repair CDs does not work, it is quite recurrent on the forum.).
On video
(Thanks to hephaistos59300)
Other links
- Create a system image on Windows
- Create and use a repair disc with Windows
To see also
Netbook - Create a Windows 7 repair usb key
![[iPhone] iMessage Doesn't Work: No Messages Are Received | iphonexpertise - Official Site](/images/posts/6b02db17523b3c290f81b739e105ae3c-0.jpg)