 © Iliad / Free
If you are a subscriber Freebox and / or free mobile and you find that it is downright impossible for you to connect to certain sites or applications, there is a solution: change the DNS requested by the operator. Itopdroid explains how to make this change without the hassle.
Perhaps you want to quietly enjoy your internet connection or, if you are one of the lucky ones, the hypnotic power of fiber optics. Unfortunately, sometimes the Web, or at least some sites and platforms, are simply no longer accessible. This is what some Freebox users are reporting in recent days. After having checked your connections and tested your connection, you realize that the problem does not come from you, but from your Freebox. We explain how to fix it.
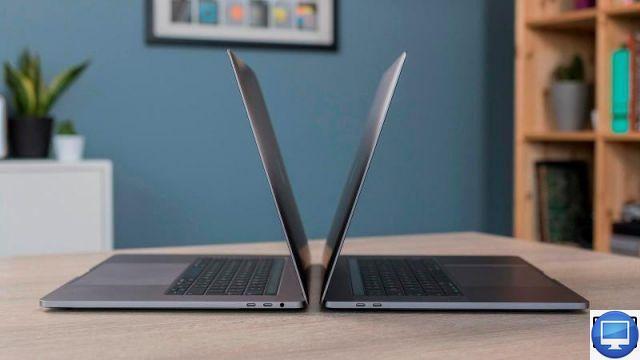
Read also:Free to storm the Pro market: new Freebox, without obligation and connectable to mobile
Which DNS addresses to choose? 💻
- Google offers two addresses: 8.8.8.8 and 8.8.4.4. An effective option but which offers your data on a plate to the Mountain View firm.
- Cloudflare's DNS servers, for example, are much more protective of data: 1.1.1.1 and 1.0.0.1.
- We can also recommend the OpenDNS solution (208.67.222.222 and 208.67.220.220) which, we warn you, belongs to Cisco.
- And finally, the associative and reputed secure FDN servers (80.67.169.12 and 80.67.169.40), knowing that there are many others.
Change DNS directly on your Freebox, simple, efficient and durable
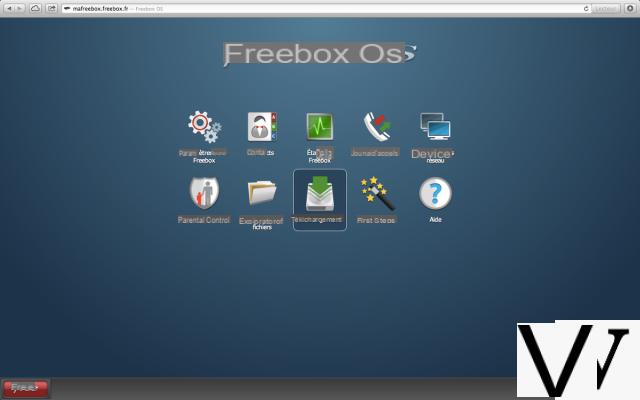
This is ideal if you have access to your Freebox OS handy. Changing the DNS directly on the box will allow all the equipment connected to it to benefit from the modification (this information is indeed shared with the devices to which the Freebox assigns an IP address in the local network).
- Go to mafreebox.comeebox.com, enter your password
- Go to "Freebox settings"
- Then direction "DHCP"
- You thus have 5 DNS fields, insert here those you have chosen above.
To apply the changes, your devices must be disconnected and then reconnected to the network in order to request a DHCP lease again.
If you don't want to bother: simply restart. Otherwise a disconnection / reconnection of Wi-Fi or Ethernet will do the trick.
Change DNS in Windows 10: a few clicks are enough
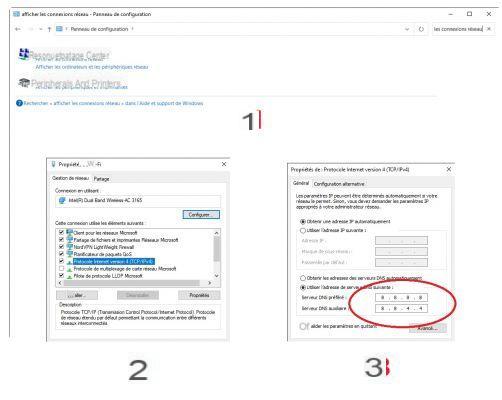
To modify your DNS in Windows 10, the procedure is quite simple. First, go to your search magnifier, usually at the bottom left of the home screen, and type in "Control Panel." If you have a shortcut, even better. In the bar of your config 'panel, type "Show network connections" and click on the tab of the same name that appears.
What is DNS (Domain Name System)? 🤔
This "domain name system", as one could translate it into Spanish, makes it easier to find a website in your navigation. It allows you to link a domain name (an address) to a physical IP address. Often, DNS can be compared to a telephone directory, which connects a telephone line to its holder. It's as simple as that.
You must then make a small right click on the connection that you want to modify. Usually, this is your primary Wi-Fi. From then on, click on “Properties” and select the line “Internet Protocol version 4 (TCP / IPv4)” by double-clicking on it or by pressing “Properties” again.
From there, another page opens where you will find, at the bottom, two lines already completed: "Preferred DNS server" and "Auxiliary DNS server". And all you have to do is enter your privileged DNS addresses.
 © Itopdroid Read also:
Free draws up a positive balance sheet for 2020 between rebounds in subscriptions, deployments and redemptions
Changing DNS on macOS and Android: user guide
To change DNS in macOS, you must:
- Click on your Wi-Fi icon and “Open network preferences”, or go through “System Preferences”, then through the “Network” icon. You will end up, in both cases, on the same page.
- Once on the page, you must choose the network concerned, then click, at the bottom right, on the “Advanced…” button.
- From there, you have to go to the "DNS" tab and add your new addresses, by clicking on the small "+" button, then, once done, by pressing "OK". And voila. 😉
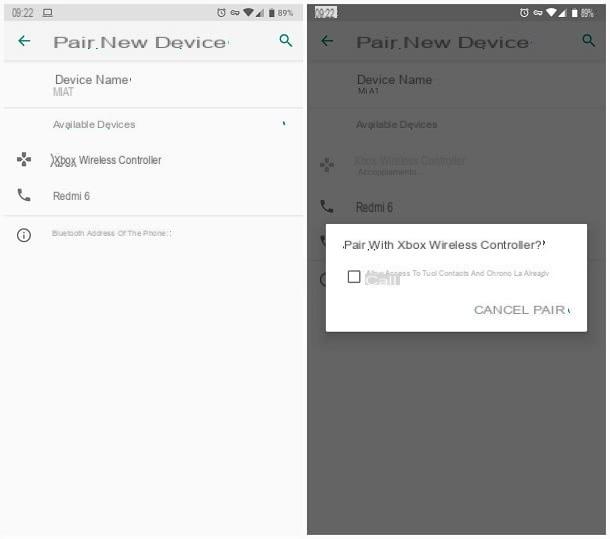
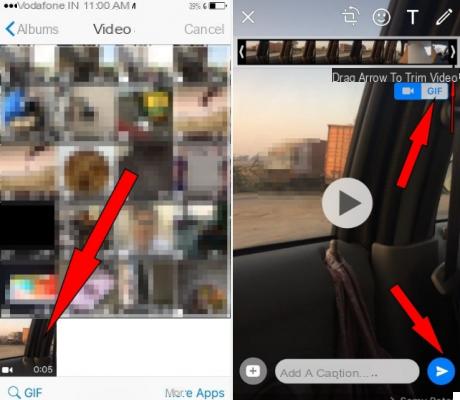
To change DNS on Android, you must:
- Access the “Wi-Fi” button by going through the home screen or by going to the “Settings” of the mobile and selecting the first tab from the top, “Wi-Fi”.
- Hold your right click on the network you want to customize, then select "Edit network" and "Show advanced options".
- If you can't see anything, don't panic. Just change the “IP Settings” option and switch it to “Static” instead of “Dynamic”.
- By scrolling to the bottom, you will see the last two lines, DNS 1 and DNS 2, which you can customize as desired.
Source: CNET Spain
![[iPhone] iMessage Doesn't Work: No Messages Are Received | iphonexpertise - Official Site](/images/posts/6b02db17523b3c290f81b739e105ae3c-0.jpg)