


Did you drown under the windows? Use Windows 10 virtual desktops! You will thus have several well-organized workspaces with a single screen.
When you only have one screen - which is the case with most computer users - and you use several applications at the same time, you quickly get lost among all the open windows. Of course, there are many ways to juggle all these elements, whether it is to hide, enlarge or isolate windows (see our practical sheet on this subject). But Windows 10 also has a little-known - and therefore - underused function that allows you to go much further: virtual desktops.
The principle - which is neither new nor exclusive to Windows - is simple: it consists of creating separate "workspaces", each with its own windows and open applications, and to switch from one to the other. when you need it. We can thus create a virtual desktop reserved for Windows Explorer, another for browsing the Web, another for office automation, another for video playback, another for a game, etc. This amounts to having as many screens as desired, each dedicated to a particular use, completely free of bulky items.
The icing on the cake: even if virtual offices are essentially independent, it is quite possible to switch a window from one to the other! And since the implementation of virtual desktops is really very simple, it would be a shame not to do without ... Especially since Microsoft has improved their management in the May 2020 update of Windows 10.
How to create virtual desktops with Windows 10?
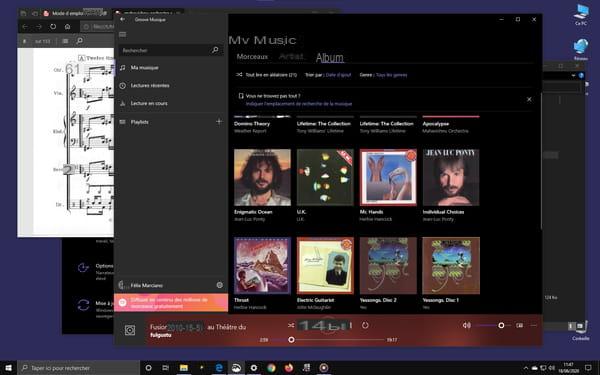
In what follows, we will assume that you have started your Windows session as usual and already open a few windows or applications.
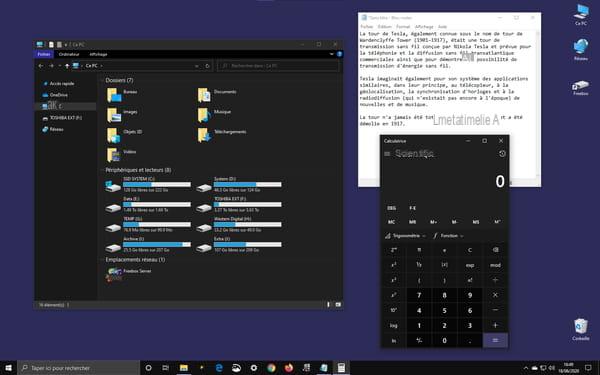
- Click on the icon Viewing tasks in the Windows 10 taskbar - by default, next to the Search box or Cortana.


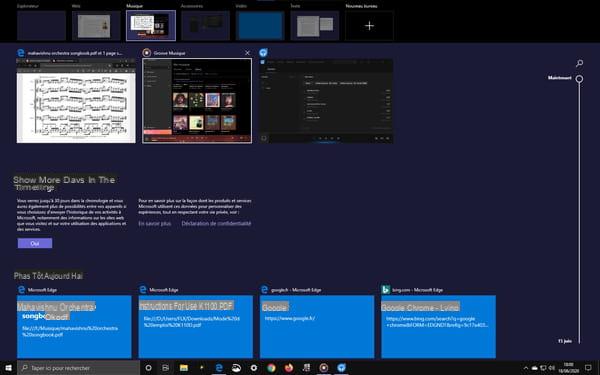
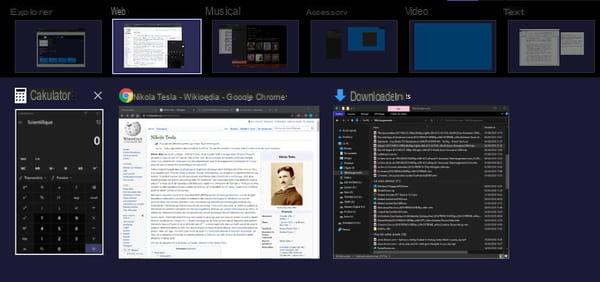
- The desktop icons and all open windows disappear, and Windows displays a screen with all open windows in thumbnails - Explorer and application windows.
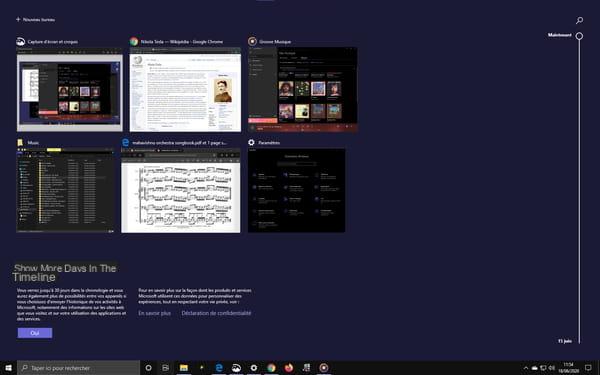
- Then click on the button + New office, on top.

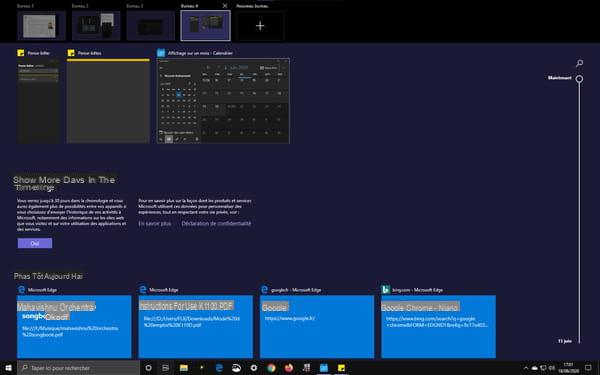
- The screen changes immediately and three thumbnails appear at the top.
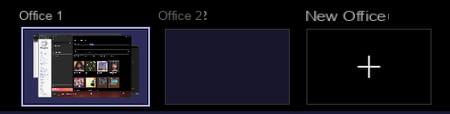
- The first, entitled 1 Bureau, shows in miniature the desktop screen as you left it, with the windows open.
- The second, entitled 2 Bureau, corresponds to the virtual desktop you have just created, logically empty for the moment.
- The third, entitled New office, corresponds to a button used to create another desktop. You can use it whenever you want to create a third virtual office.
Each time you create new virtual desktops, they will be added to the list presented when you click on the icon Viewing tasks, each soberly decked out by default with a simple number - 1, 2, 3, 4, etc. In addition, you will have each time a button to create a new virtual office. There is no official limit to the number of virtual desktops you can create, but it can be assumed that the capacity of the RAM does the job.

How to change the name of Windows 10 virtual desktops?
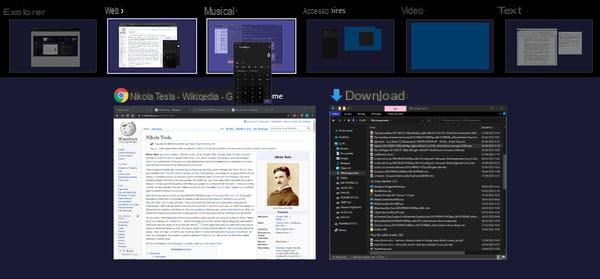
By default, virtual desktops are just numbered. And until Windows 1909 version 10 - the fall 2019 update - it was not possible to change these names to give them a more meaningful name. But everything has changed with the 2004 version of Windows 10, released in May 2020. And we can now modify the default names to identify them more easily, either as soon as they are created or after, and even change them afterwards; the operation is not final.
- To change the name of a virtual office, click on the icon Viewing tasks in order to display the available virtual desktops.
- Click on the name a virtual office, at the top of its thumbnail. It then becomes highlighted.

- All you have to do is type in the name of your choice (Web, Video, Music, etc.) and press the key. Starter on the keyboard or click next to confirm the change.

How to use Windows 10 virtual desktops?
- Click on the task view icon, in the taskbar.
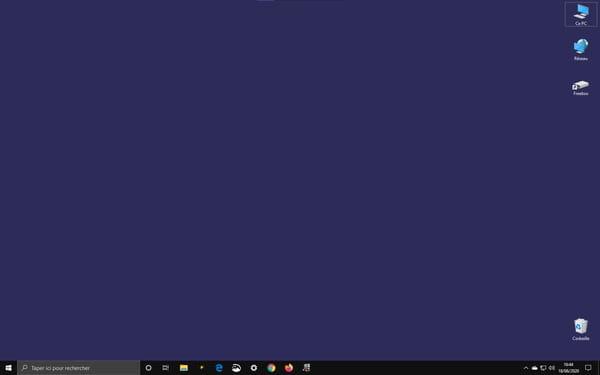
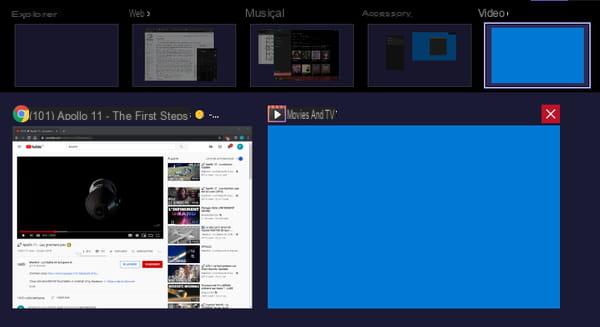
- In the virtual desktops presentation screen, click on the thumbnail 2 Bureau, which is currently empty.

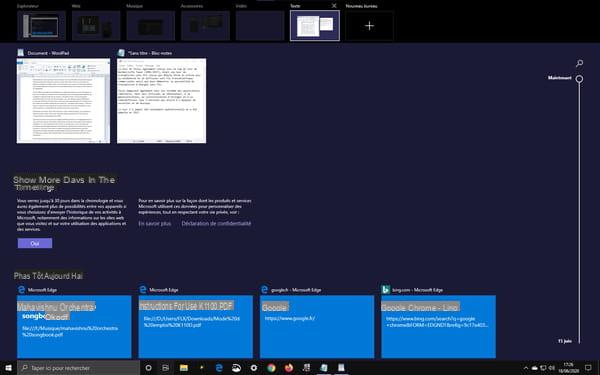
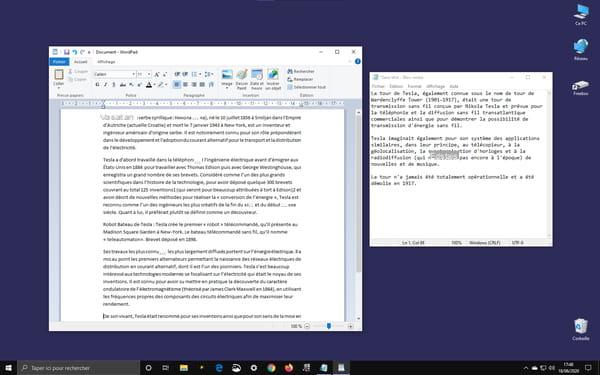
- The Windows 10 desktop appears, with its usual icons, but without any open windows. Note that the taskbar doesn't even mention apps already open on Desktop 1, underlining their icon. In fact, everything is visually as if you had just opened a new session of Windows, independent of the first - which is not technically the case. You now have a new, completely blank workspace.
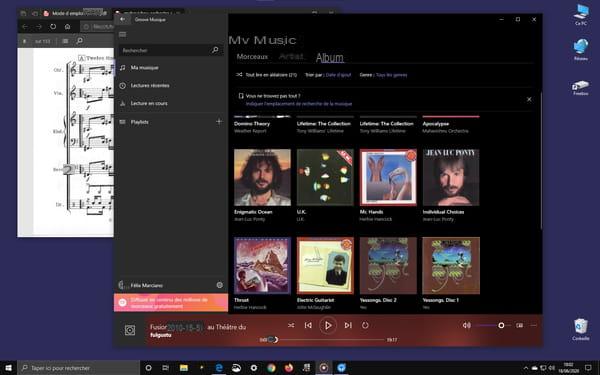
- Open the windows or software you want. This time, the Windows taskbar will clearly indicate which applications have been launched. Obviously, the goal being to have thematic workspaces, it is strongly advised to open only windows or software having one point in common - for example, Windows Explorer if you wish to manipulate files, or your favorite office software. You can easily open a new instance of an application already open elsewhere, but this is not to put a mess on the screen for all that ...
- If you need more virtual desktops, click again the task view icon, in the taskbar, then click as many times as necessary on the thumbnail New office to add more.
How to handle virtual desktops and windows in Windows 10?
Once you have created several virtual desktops, you must learn to switch between them and to manipulate the various windows they contain.
To switch from one virtual desktop to another, click on the icon Viewing tasks, And then the office sticker that you want to use. The screen immediately displays the new desktop which you can use as normal.
- To activate a particular window in a virtual desktop, click on the icon Viewing tasks and hover with the mouse over the thumbnails of the different virtual offices available in the upper banner. After about a second, Windows displays the windows open in each desktop in miniature. Just click on the desired window, which is surrounded by a white border to show that it is being hovered over by the mouse, to switch to the desktop where it is located by displaying it in the foreground.
- To switch a window from one virtual desktop to another, first go to the desktop where the window is open. Click on the icon Viewing tasks to display the thumbnails of the windows it contains. Then click on the window you want to move, then, while keeping the mouse button pressed, drag it onto the thumbnail of the destination virtual desktop. Then release the button. The window is now in the other virtual desktop. You just have to select this virtual desktop with the method described above to access this window. The process can be repeated at will, in any direction!
- There is another way to switch a window from one virtual desktop to another. Switch to virtual desktops view mode, select the desktop where the window you want to move is located and right click on it. A context menu appears. Click on Moving then select the destination office from the submenu that appears in cascade.
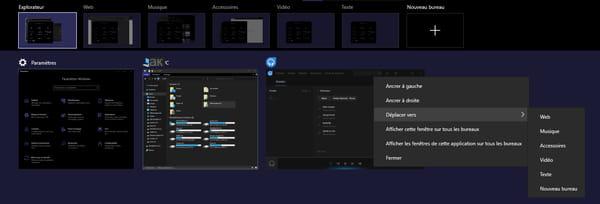

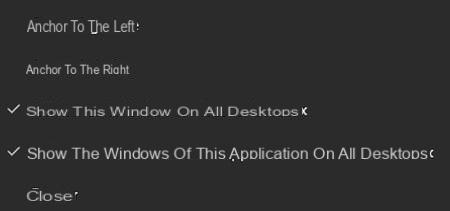
- The context menu that appears when you right-click on a window contains two interesting options: Display this window on all desktops et Show windows of this application on all desktops. In the first case, only the selected window will be displayed on all desktops. In the second, all associated application windows will be displayed on all desktops. These options come in handy when you want to keep a window or application on all desktops - an audio player's control bar, a web page, a desktop accessory, etc. -, without having to switch from one to the other permanently. You can tick either option, but also both. Very logically, the option Moving disappears when at least one of the two options is checked.
- To close a window in a virtual desktop, click on the icon Viewing tasks, select the desktop of your choice, then, hover the mouse over the thumbnails of the windows it contains and click on the close box - the cross on a red background - of the thumbnail of the window you want to close. You can also right click on a window and click Close in the context menu.
-
- To close a virtual office, click on icon Viewing tasks, then, hover the mouse over the banner of virtual desktops at the top, then click on the close box of the desktop that you want to close. The desktop disappears, but fortunately the windows it contained are not closed: they automatically switch to the previous virtual desktop - for example, to Desktop 3 if you have closed Desktop 4.

How to use keyboard shortcuts for Windows 10 virtual desktops?
In all of the above, we have performed manipulations exclusively with the mouse. But it is quite possible - and even advisable! - create and use virtual desktops with keyboard shortcuts. It's both more practical and faster on a daily basis - once you've got used to it and the reflexes, of course - because you can navigate from one desk to another without leaving the keyboard. hands. Windows 10 thus uses a series of keyboard shortcuts entirely dedicated to virtual desktops.
| Windows + Tabulation | View virtual desktops and active applications. |
| Windows + Ctrl + D | Add a virtual office. |
| Windows + Ctrl + Right Arrow | Switch to the next virtual desktop on the right. |
| Windows + Ctrl + Left Arrow | Switch to the previous virtual desktop on the left. |
| Windows + Ctrl + F4 | Close the active virtual office. |
Two more things to finish.
First, you don't have to go through the icon Viewing tasks or the keyboard shortcut Windows + D to see all open windows in a virtual desktop. Just use the keyboard shortcut Alt + Tab to see only the thumbnails of the active desktop, without displaying the other desktops. You can then activate a specific window using the keyboard shortcut again Alt + Tab.
Also, note that if virtual desktops are now automatically backed up with their name by Windows 10 when you turn off your PC, their content is not. While waiting for a possible improvement, it will be necessary to reconstitute them each time by opening the windows and the necessary applications ...
Finally, other solutions exist to create and use virtual desktops under Windows, in particular the famous Dexpot, a free software rich in functions, and always acclaimed by its users.


